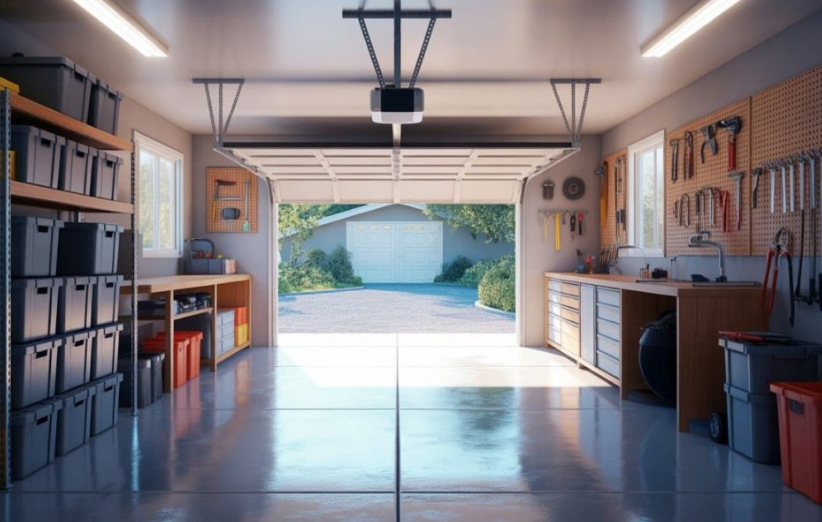
Long-term storage spaces can hide years of decisions that were postponed. Basements, garages, attics, sheds, spare rooms, closets, crawl spaces, and utility areas often collect boxes, furniture, tools, holiday decorations, old paperwork, toys, clothing, broken appliances, building materials, and items saved “just in case.”
When homeowners finally decide to clean these spaces out, the amount of material can feel bigger than expected. A few shelves or bins may turn into a full weekend of sorting, lifting, and hauling. Disposal planning helps make the cleanup more manageable by giving every item a clear next step before the space becomes overwhelmed.
Start With the Purpose of the Cleanout
Before pulling everything out, homeowners should decide what they want the storage space to become. The goal may be to park in the garage again, create usable basement storage, clear an attic before moving, prepare for remodeling, or simply reduce clutter.
That goal helps guide decisions. If the space will be used for seasonal storage, only useful, labeled, and accessible items should go back. If the area will become a workshop, office, bedroom, or laundry space, more material may need to leave permanently.
A clear purpose prevents the cleanup from turning into rearranging. The point is not just to move boxes around; it is to make the space easier to use.
Work in Sections
Long-term storage areas can feel overwhelming when everything is opened at once. Homeowners should divide the space into sections and finish one area before moving to the next.
In a garage, that may mean starting with one wall of shelving. In a basement, it may mean clearing one corner, closet, or storage rack. In an attic, it may mean working from the access point outward.
This keeps the project controlled. It also reduces the chance that walkways, stairs, driveways, or living areas will fill with half-sorted piles.
Sort Before Loading
Disposal planning should begin with sorting, not throwing. Long-term storage spaces often hold a mix of useful items, sentimental belongings, outdated supplies, broken goods, and true trash.
Simple categories work best: keep, donate, recycle, discard, and review later. The review-later pile should stay small. If too many items go into that category, the cleanout can stall and the clutter simply moves to another part of the home.
Important items should be pulled aside early. Family photos, legal documents, tax records, keepsakes, tools, heirlooms, and valuables can easily be hidden inside old boxes.
Choose a Main Disposal Area
Once homeowners know material will be discarded, they need a clear place for it to go. Without a main disposal area, trash bags, broken bins, old shelves, boxes, and bulky items can spread into the driveway, garage, porch, or hallway.
For larger cleanouts, homeowners may use Temporary Dumpster when regular household trash is not enough for the amount of material being removed. The disposal area should be easy to reach but should not block garage doors, vehicles, sidewalks, mail delivery, or daily access to the home.
A defined disposal location keeps the cleanout moving and gives everyone helping the same place to take discarded items.
Clear the Route First
Before carrying anything heavy or bulky, homeowners should clear the path from the storage area to the disposal location. This is especially important for basements, attics, sheds, and garages with narrow walking paths.
Move shoes, cords, bikes, pet items, tools, toys, rugs, and small furniture out of the way. If items will be carried through finished rooms, protect floors and corners where needed.
A clean route makes the work safer and faster. It also helps prevent damage to walls, door frames, stairs, and flooring.
Handle Bulky Items Early
Large items take up space and make sorting harder. Old furniture, shelving units, mattresses, broken cabinets, exercise equipment, storage racks, doors, and workbenches should be identified early in the project.
Some bulky items may need to be disassembled before removal. Shelving can often be broken down. Furniture may need drawers removed. Heavy boxes should be repacked into smaller loads.
Removing large items early opens more room for sorting smaller belongings. It also helps homeowners see real progress, which can make the rest of the cleanout easier to finish.
See Also: How to Identify Opportunities That Fit Your Circumstances
Watch for Special-Handling Items
Long-term storage spaces often contain items that should not be mixed with ordinary debris. Paint, chemicals, cleaners, pesticides, batteries, electronics, fluorescent bulbs, propane cylinders, motor oil, and certain appliances may require separate handling depending on local rules.
These items are common in garages, sheds, basements, and utility rooms. Homeowners should set them aside as soon as they are found. Do not bury them under general debris or toss them into a mixed pile.
Separating special items early prevents disposal problems later and keeps the cleanup safer.
Keep Donation Items Clean
Many stored items may still be useful. Clothing, toys, small furniture, dishes, books, lamps, tools, décor, and household goods may be donated if they are clean and in usable condition.
Donation items should be staged away from dusty, broken, or wet debris. Once clean items are mixed with trash or damaged materials, they may no longer be worth donating.
Homeowners should also set a deadline for donation drop-off or pickup. Otherwise, the donation pile may sit in the garage and become another long-term storage problem.
Break Down Boxes and Containers
Old storage areas often contain empty boxes, cracked totes, damaged bins, broken drawers, and packaging from years of past purchases. These items can take up a surprising amount of space.
Flatten cardboard when practical. Nest empty bins if they are being kept. Discard broken storage containers that no longer protect anything. If a container is dusty, cracked, or missing a lid, it may not deserve space in the cleaned-out area.
Better storage after the cleanout starts with fewer, better containers.
Be Careful With Sentimental Items
Sentimental belongings can slow a cleanout more than anything else. Photos, school papers, family items, souvenirs, letters, children’s artwork, and inherited possessions deserve more care than ordinary clutter.
Instead of stopping the whole project for every emotional decision, homeowners can create one clearly labeled memory box or review area. Keep it limited and organized.
This allows the cleanup to keep moving while still protecting items that should not be rushed into the discard pile.
Reset the Space Before Putting Items Back
After a section is cleared, homeowners should clean the area before refilling it. Sweep, vacuum, wipe shelves, check for moisture, look for pests, and remove loose debris from corners.
Only then should keep items return to the space. Items going back should be labeled, grouped by use, and placed where they can be reached. If something is rarely used but still needed, it should not block everyday access.
The cleaned-out space should feel easier to maintain, not simply repacked.
Disposal planning makes long-term storage cleanouts less stressful by giving homeowners a clear system. Working in sections, sorting before loading, choosing a disposal area, clearing the route, and separating special-handling items all help keep the project under control.
A good cleanout is not only about getting rid of unwanted things. It is about making storage spaces useful again. With a practical plan, homeowners can clear years of clutter and avoid letting the same mess rebuild in a different corner of the house.
